
Step 1
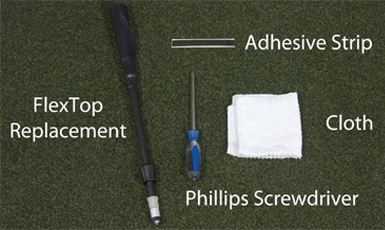
To replace a Tanner Flextop, all you'll need is a Phillips screwdriver, a Tanner Flextop replacement, a clean cloth and the adhesive strip which is included with the purchase of a new Flextop.
Step 2
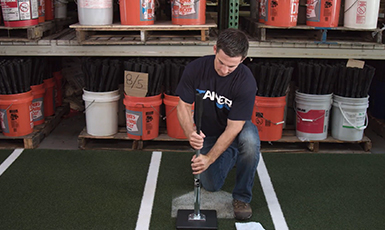
Remove the Flextop you are replacing by grabbing the small rubber tip, twisting in either direction and pulling upwards. You can now discard this top.
Step 3
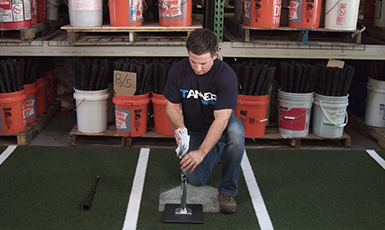
Take a clean cloth and wipe away any dirt or residue from the top of the metal pipe.
Step 4
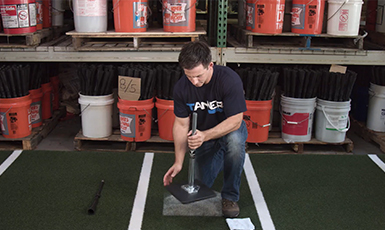
Unscrew the Tanner Tee from its base.
Step 5
Take the replacement top and insert it into the metal pipe. Check friction by sliding the top up and down. You should feel a little resistance as the bottom rubber grommet contacts the inner section of the pipe.
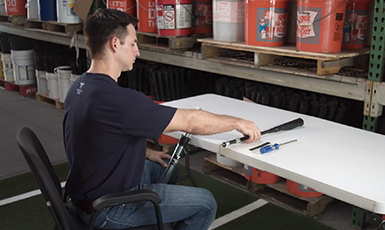
Step 6
If the friction is too tight, turn the screw at the base of the Flextop one quarter turn to the left and recheck.
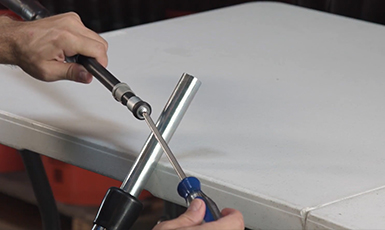
Step 7
Slide the grey ring down onto the metal pipe so it forms a lip at the edge of the pipe.
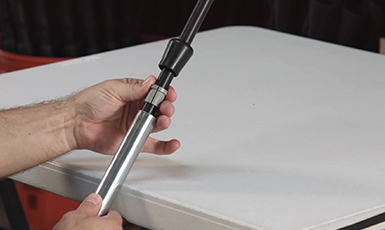
Step 8
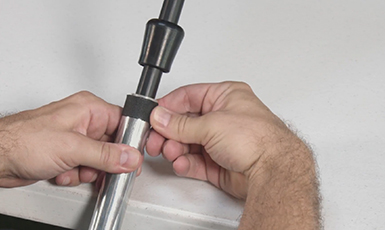
Now take the adhesive strip out of the plastic bag. Carefully peel it away from the backing and wrap it CLOCKWISE around the metal pipe and grey ring. The top of the adhesive strip should be halfway up the grey ring, but do not go over top of the grey ring.
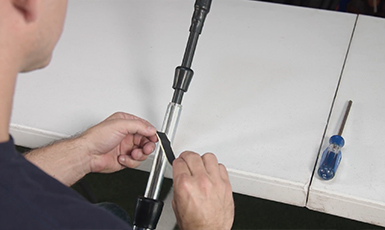
Step 9
Now push in on the adhesive with your finger to ensure a good connection on the metal pipe and grey ring.
Step 10
Holding the tee horizontally with one hand on the pipe and one hand on the Flextop, slide the rubber tip delicately over the grey ring turning the rubber tip CLOCKWISE as you push it inward over the adhesive.
Step 11
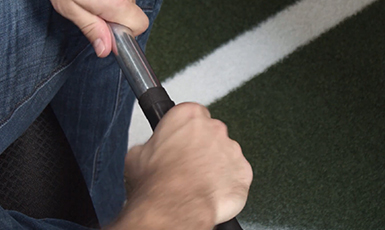
To ensure the rubber tip is pushed flush onto the metal pipe, first visually check to observe no adhesive is showing. The rubber tip should cover the adhesive. Finally, while seated in a chair, with one hand grab the top of the rubber tip and with the other hand the lower metal pipe. Place the tee horizontally between your legs and use arms and legs together to firmly push inward. This ensures the rubber tip is flush.
Step 12
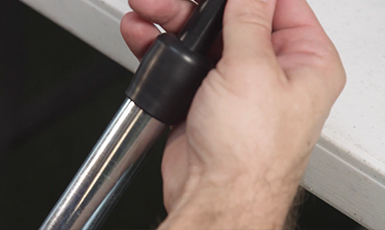
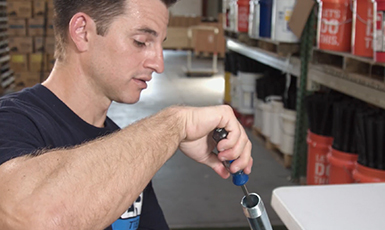
Now check friction again. You can set it to your preferred level of tightness. If the friction ever becomes loose, you can easily tighten the friction screw inside the metal pipe with a Phillips screwdriver.
Step 13
Your assembly is now complete. Please allow your Tanner Tee to sit for 24 hours to complete the bonding application.
 Default Currency


